Beespenser® Software | Precision & Control at Your Fingertips
Welcome to Beespenser® Software, your all-in-one tool for rapid electronics fabrication. Whether you’re printing conductive inks, applying solder paste or adhesives, curing materials, or drilling holes, Beespenser® automates every step—so you can focus on your design instead of setup and calibration. Just load your files, let the system take care of the rest, and get your circuits ready in minutes.
Welcome Screen | Choose Your Process
As soon as you launch Beespenser®, you’ll see four main options. Print allows you to deposit conductive inks with high precision, perfect for PCB prototyping without the hassle of etching. If you’re assembling a board, Solder lets you apply both solder paste and conductive adhesives, so you can choose between traditional soldering or low-temperature bonding.
Need to cure your material? Heat ensures that inks, pastes, and adhesives are processed at the optimal temperature for strong, reliable connections. And if you’re working with double-sided PCBs or through-hole components, Drill gives you precise, clean cuts for vias and mounting holes.
Simply pick the process that fits your needs, and the software will guide you through every step.
Step 1: Load & Prepare Your Design
Now it’s time to upload your design. Just select your Gerber or compatible design files, and Beespenser® will handle the rest. If you’re working on a multi-layer PCB, the software will walk you through loading the top layer, drill layer, and bottom layer in the correct order.
To keep everything aligned, Beespenser® automatically checks your file integrity and positioning, so you don’t have to worry about misaligned layers. If your design includes through-hole components, the software will recognize them and prepare the drill layer accordingly. And for two-layer PCBs, it’ll remind you to mirror the bottom layer, ensuring perfect alignment.


Step 2: Automated Precision Calibration
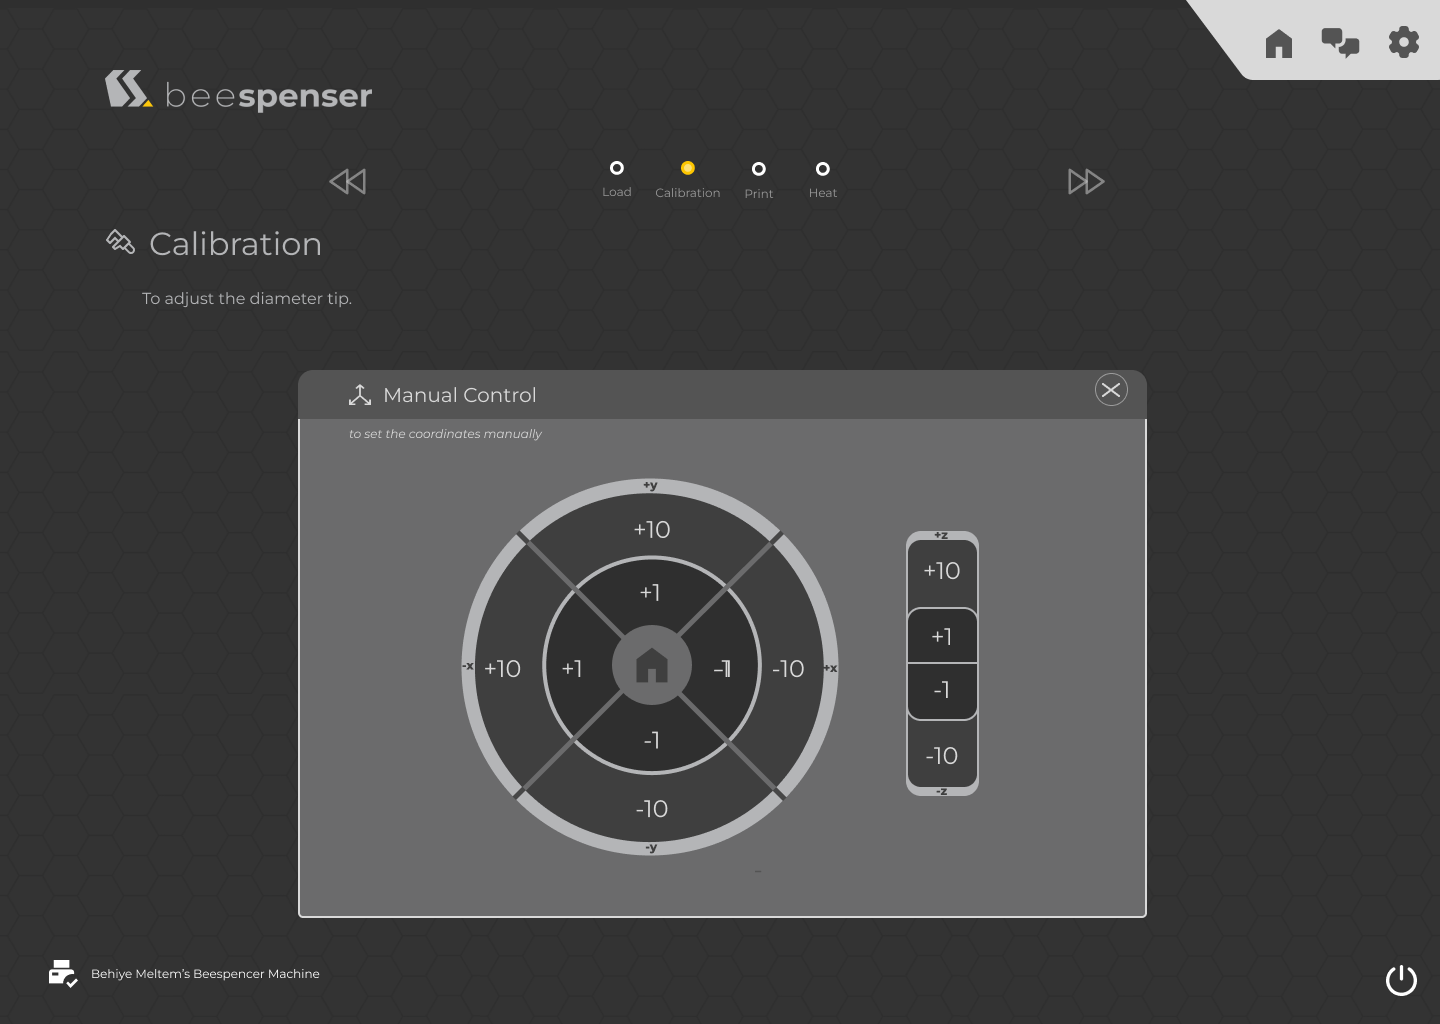
Forget about manual calibration—Beespenser® does it all for you. The system automatically calibrates the nozzle to make sure every drop of ink, solder paste, or adhesive is applied with micron-level accuracy. It also adjusts in real time to compensate for surface variations, ensuring consistent results across different materials.
If you’re working with a multi-layer circuit, Beespenser® ensures that each layer is perfectly aligned so that your final design is as precise as your original file. No guesswork, no manual fine-tuning—just load your design and let the system handle it.
Step 3: Precision Dispensing & Material Application
Now that everything is calibrated, Beespenser® begins the precise material deposition process. No matter what you’re working with, the system delivers accurate, efficient, and waste-free application.
- If you’re printing conductive inks, every trace is deposited with perfect consistency, so your circuit functions as designed.
- If you’re applying solder paste, Beespenser® ensures the right amount is placed on every pad, so your SMT components bond flawlessly.
- If you’re using conductive adhesives, the software applies the material precisely where needed, making it an ideal low-temperature alternative for flexible electronics, medical devices, and wearable tech.
Beespenser® makes sure that every drop is placed exactly where it needs to be, so your final circuit is functional, reliable, and production-ready.


Step 4: Drilling & Final Processing
Now that your materials are precisely dispensed, it’s time to drill vias and through-holes for full circuit functionality.
- If your PCB includes vias, Beespenser® drills each hole with high precision, ensuring proper connectivity between layers.
- If you’re working with through-hole components, the system creates perfectly aligned mounting holes, allowing for secure component placement and soldering.
- The software automatically reads the drill layer from your Gerber file, so every hole is positioned exactly as designed.
Whether you’re working on high-density PCBs, multilayer circuits, or mixed SMT & through-hole designs, Beespenser® makes sure that every hole is clean, precise, and properly aligned.
Advanced Settings | Fine-Tune Your Printing for Perfect Results
Every project is different, and sometimes you need more control over how materials are applied. That’s where Advanced Settings come in. If you’re working with a custom conductive ink, adhesive, or solder paste, this is where you can dial in the perfect parameters to make sure your material flows and cures exactly the way you need it to.

When Should You Use Advanced Settings?
If you’ve ever had issues like:
🔹 Ink not flowing properly – Maybe it’s too thick and isn’t dispensing evenly, or it’s too thin and spreading where it shouldn’t.
🔹 Traces drying too fast or too slow – Some inks need extra drying time, while others cure instantly.
🔹 Material building up in the wrong places – You need precise control over layer thickness to avoid unwanted overlaps.
🔹 Conductivity problems – If your ink isn’t performing as expected, tweaking the settings can improve results.
Instead of guessing, Advanced Settings let you adjust everything to match your specific material.
What Can You Adjust?
🔹 Viscosity & Flow Rate – Control how easily your material dispenses. If it’s too thick, increase the flow rate; if it’s spreading too much, slow it down.
🔹 Layer Thickness – Adjust how much material is deposited per pass to get perfect traces without excess buildup.
🔹 Drying & Curing Time – Set the right curing parameters to ensure your material is fully processed without cracking or smudging.
🔹 Print Speed – Some materials need slower deposition for better accuracy, while others work best with faster passes.
Designed for Experimentation & Optimization
If you’re working on R&D projects, testing new materials, or fine-tuning a production process, this section gives you the flexibility to experiment without waste. Try a setting, test the result, and adjust until you get it just right.
And don’t worry, you can always reset to default if needed.
So if your material isn’t behaving quite how you expected, Advanced Settings help you fix it and get the best results possible.

